Step-by-Step Guide: Connecting Your Computer to Surround Sound
By
In recent years, computers have become a preferred source for high-quality audio, surpassing traditional CD players. With error-free playback and superior file quality, they offer a modern solution for sound enthusiasts.
Whether you’re upgrading an existing setup or building a new system from scratch, this guide covers essential connection methods, hardware requirements, and optimization techniques. From laptop setups to dedicated speakers, we’ll help you achieve the best output for your home.
Our focus is on practical implementation and technical accuracy, ensuring you get the most out of your surround sound experience. Let’s dive into the details and transform your audio setup today.
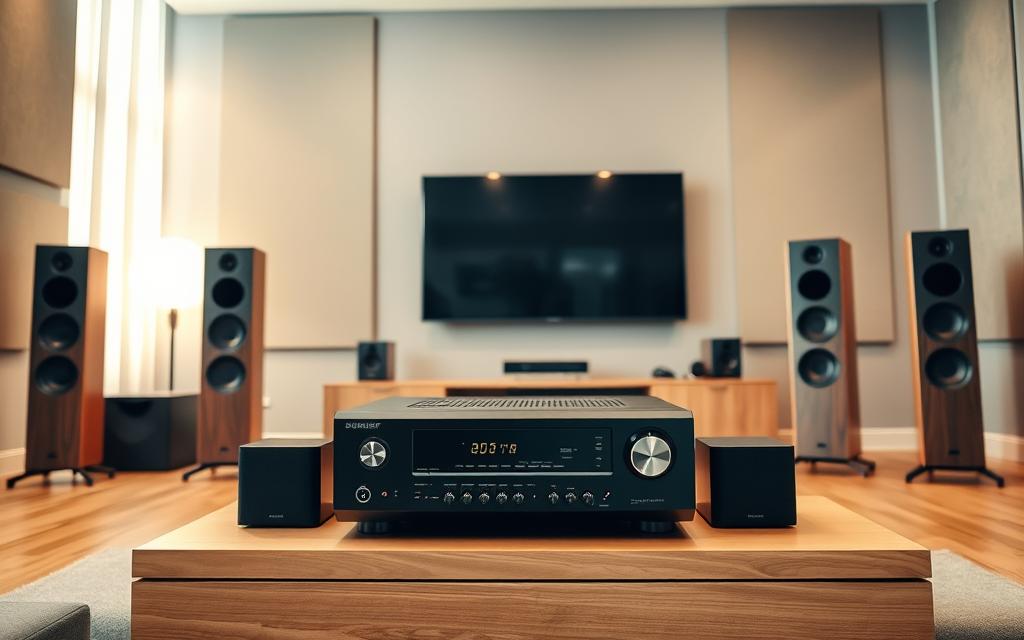
Transform your home entertainment with a surround sound setup for your computer. Unlike traditional CD players, modern computers eliminate issues like read errors and laser misalignment, delivering flawless playback and superior quality.
For gaming, movies, and high-resolution music, a surround setup creates an immersive experience. Whether you’re exploring virtual worlds or watching your favorite video, the depth and clarity of the sound will captivate you. Compact systems, like the LattePanda 3 Delta, offer space-efficient solutions that blend seamlessly into your home theater.
Modern audio systems support audiophile-grade 24-bit/192kHz files, ensuring every note and detail is preserved. This makes your computer a versatile hub—perfect for work during the day and entertainment at night. Why settle for basic stereo when you can have a cinematic experience at your fingertips?
“The right setup turns your computer into a powerhouse of audio excellence.”
With multi-use functionality and advanced technology, a surround sound system is the ultimate upgrade for your home setup. Dive into a world of rich, immersive sound and elevate every moment.
Preparing to Connect: What You’ll Need
Setting up your audio system starts with understanding your computer’s capabilities. Whether you’re using a desktop or a laptop, identifying the right audio outputs is the first step. This ensures compatibility with your devices and maximizes sound quality.
Checking Your Computer’s Audio Outputs
Most computers feature multiple port options for audio. Common types include the 3.5mm jack, HDMI, optical audio (TOSLINK), and USB-C. Each serves a unique purpose, so it’s essential to know which one your system supports.
For example, HDMI delivers both video and audio, making it ideal for home theaters. Optical audio, on the other hand, ensures high-fidelity sound for audiophiles. USB-C is versatile, offering audio passthrough for modern devices.
Choosing the Right Cables and Adapters
Once you’ve identified your port, selecting the correct cable is crucial. Here’s a quick guide to help you decide:
Output Type
Cable Required
Recommended Brands
3.5mm Jack
RCA-to-Minijack (6ft+)
AudioQuest
HDMI
HDMI 2.1 Certified
Monoprice
Optical Audio
Optical TOSLINK
AudioQuest
For older systems, adapter solutions like USB-to-SPDIF converters or DVI-to-HDMI audio extractors can bridge the gap. Brands like AudioQuest and Monoprice offer reliable options for both cables and adapters.
Remember, laptops and desktops may differ in built-in options. Desktops often allow expansion cards for additional outputs, while laptops rely on built-in ports. Choose accordingly to match your setup.
How to Connect Computer to Surround Sound System?
Modern technology offers multiple ways to link your devices for an immersive audio experience. Whether you prefer wireless convenience or high-fidelity wired options, there’s a solution for every setup. Below, we explore four popular methods to achieve the best sound quality.
Bluetooth Connection
Bluetooth is ideal for wireless setups, offering flexibility and ease of use. Pairing your speaker or receiver is straightforward—simply enable Bluetooth on both devices and select the appropriate one from the list. For the best performance, ensure your devices support advanced codecs like aptX HD or AAC, which reduce latency to under 100ms.
HDMI for Audio and Video
HDMI is a versatile option, delivering both audio and video through a single cable. Using HDMI ensures compatibility with HDCP 2.3 and supports advanced formats like Dolby Atmos. For home theaters, HDMI ARC/eARC simplifies the connection between your TV and receiver, eliminating the need for extra cables.
Optical Audio Cable
Optical audio cables, also known as TOSLINK, provide high-fidelity sound without interference. They support resolutions up to 24-bit/96kHz, making them a favorite among audiophiles. However, be mindful of the cable’s bend radius to avoid signal loss. This method is perfect for setups where HDMI isn’t an option.
Analog (3.5mm or RCA) Connection
Analog connections are a classic choice, ideal for older systems or budget setups. Use a 3.5mm-to-RCA cable or invest in a ground loop isolator like the FiiO GL311 to reduce noise. For the best results, adjust your audio settings and install the latest software drivers to optimize performance.
Each method has its strengths, so choose the one that aligns with your needs and equipment. With the right connection, you can transform your audio experience and enjoy every detail of your favorite content.
Configuring Audio Settings on Your Computer
Fine-tuning your audio setup ensures the best performance for your devices. Whether you’re using Windows or macOS, optimizing your settings can significantly enhance your listening experience. Below, we’ll guide you through the essential steps for both operating systems and explore advanced tools for customization.
Windows Sound Settings
Windows offers a range of options to customize your audio output. Start by navigating to the Control Panel and selecting “Sound.” Here, you can adjust the bit-depth to 24-bit/192kHz for superior clarity. For surround sound setups, configure your device to match the speaker layout, such as 5.1 or 7.1.
Third-party software like Equalizer APO allows for advanced calibration, while Voicemeeter simplifies routing for multi-device setups. Regularly updating your sound card drivers, such as the Creative Sound BlasterX AE-9, ensures compatibility and performance.
macOS Sound Preferences
macOS users can optimize their audio via the MIDI Setup utility. This tool enables multichannel configurations, ideal for home theaters. AirPlay integration allows seamless streaming to compatible devices, enhancing flexibility.
For audiophiles, third-party tools like Audio MIDI Setup provide granular control over output settings. Additionally, firmware updates for USB audio interfaces ensure low-latency performance, crucial for DAW users.
Platform
Key Features
Recommended Tools
Windows
Bit-depth adjustment, APO Equalizer
Equalizer APO, Voicemeeter
macOS
MIDI Setup, AirPlay integration
Audio MIDI Setup, ASIO4ALL
For detailed steps on configuring speaker settings, check out this guide. With the right adjustments, you can achieve a professional-grade audio experience tailored to your needs.
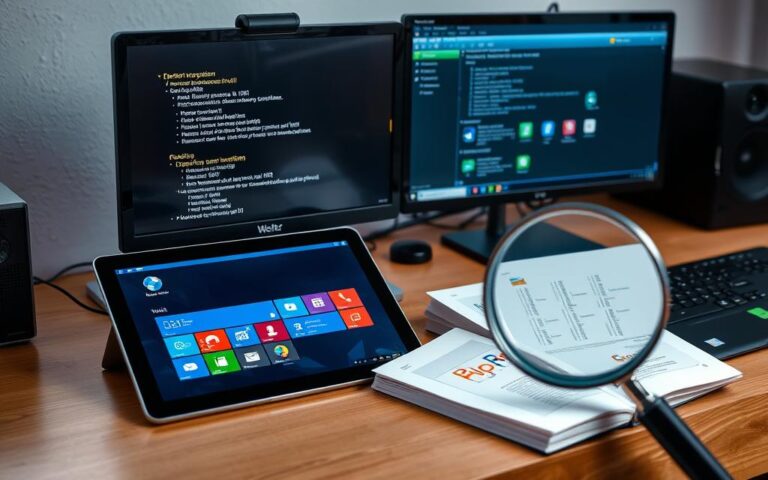
Troubleshooting Common Connection Issues
Audio issues can disrupt your experience, but most problems have straightforward solutions. Whether you’re dealing with no sound, HDMI handshake errors, or ground loop noise, understanding the root cause is the first step to resolving it.
Start by checking physical connections. Ensure all cables are securely plugged into the correct ports on your device and receiver. Loose or incorrect connections are a common culprit for audio problems.
If the issue persists, verify your settings. On Windows, right-click the sound icon and select “Playback devices” to ensure the correct speakers are set as default. For macOS, check the MIDI Setup utility for proper configuration.
HDMI handshake issues can often be resolved by disabling CEC (Consumer Electronics Control) in your system settings. Alternatively, tools like Dr. HDMI can spoof EDID data to ensure compatibility between devices.
For optical audio synchronization problems, ensure your software and hardware support the same format, such as Dolby Digital Live or DTS Interactive. Mismatched formats can cause delays or no sound at all.
Bluetooth pairing failures are another common issue. Registry edits for Intel Wireless controllers can often resolve this. For persistent ground loop noise, consider using isolation transformers like the Tripp Lite IS250.
Issue
Solution
No Sound
Check physical connections and output settings
HDMI Handshake
Disable CEC or use Dr. HDMI for EDID spoofing
Optical Sync
Match Dolby Digital Live or DTS Interactive formats
Bluetooth Pairing
Edit registry for Intel Wireless controllers
Ground Loop Noise
Use isolation transformers like Tripp Lite IS250
By following these steps, you can resolve most common audio issues and enjoy uninterrupted sound from your system. For advanced problems, consult your device manual or seek professional assistance.
Optimizing Your Surround Sound Experience
Achieving the perfect audio setup requires attention to detail and the right tools. From calibrating speaker levels to enabling advanced formats like Dolby Digital or DTS, every step enhances your home theater experience. Let’s explore how to fine-tune your system for exceptional quality.
Adjusting Speaker Levels
Proper speaker calibration ensures balanced sound across your surround sound setup. Tools like the Dayton Audio EMM-6 SPL meter help measure and adjust volume levels for each channel. For advanced room correction, consider solutions like Audyssey MultEQ or Dirac Live. These tools analyze your space and optimize speaker placement for the best audio performance.
Bass management is another critical factor. Set your crossover frequency to 80Hz for a seamless transition between speakers and subwoofers. Use Room EQ Wizard (REW) for precise measurements and adjustments. Acoustic treatments, such as Auralex Acoustics panels, can further enhance clarity by reducing unwanted reflections.
Enabling Dolby Digital or DTS
For immersive sound, enabling Dolby Digital or DTS is essential. These formats support multi-channel audio, delivering cinematic depth and detail. Use the Dolby Access app to configure Atmos height virtualization, which adds a vertical dimension to your setup. This is particularly effective for home theaters with ceiling or upward-firing speakers.
When streaming or playing Blu-ray content, choose bitstream output over PCM for compatibility with advanced formats. This ensures your receiver decodes the signal correctly, preserving the intended quality. For USB-connected devices, ensure your drivers are up-to-date to avoid latency issues.
“The right calibration transforms your system into a powerhouse of audio excellence.”
By following these steps, you can unlock the full potential of your surround sound setup. Whether you’re watching movies, gaming, or listening to music, these optimizations ensure every moment is immersive and enjoyable.
Alternative Solutions for Advanced Users
For those seeking the pinnacle of audio performance, advanced solutions like DACs and network streaming offer unparalleled quality. These options cater to audiophiles and tech enthusiasts who demand the best from their systems.
Using a DAC (Digital-to-Analog Converter)
A DAC is essential for converting digital audio files into analog signals with exceptional clarity. High-end models like the Chord Qutest and PS Audio NuWave DSD are popular ones for their precision and sound quality.
Setting up a USB DAC involves configuring WASAPI exclusive mode for bit-perfect playback. This ensures no interference from other devices or systems. For those integrating with amplifiers, the Roon Nucleus server paired with Hegel H95 offers seamless performance.
Network Audio Streaming
Network streaming allows you to access high-quality audio files from anywhere in your home. Dante AVIO adapters are ideal for enterprise-grade setups, ensuring reliable transmission across networks.
For DIY enthusiasts, Raspberry Pi endpoints running Volumio software provide a cost-effective solution. AES67 interoperability testing ensures compatibility between different manufacturers, making it a versatile choice for advanced users.
“Investing in a high-quality DAC or network streaming setup transforms your audio experience, delivering studio-grade sound in your home.”
Whether you choose a DAC or network streaming, these advanced solutions elevate your audio setup to new heights. Explore the options and find the perfect fit for your needs.
Conclusion
Choosing the right setup for your audio needs can significantly enhance your listening experience. Whether you prioritize Bluetooth convenience or optical quality, each method has its strengths. Future-proof your system by considering HDMI 2.1 adoption timelines, ensuring compatibility with next-gen devices.
For advanced users, investing in a $200 DAC or a $1,500 network streamer can elevate your home theater. Regular maintenance, such as driver updates and cable integrity checks, ensures long-term performance. For complex setups, professional installation services are a worthwhile part of the process.
By taking the time to optimize your surround sound setup, you can enjoy immersive, high-quality audio for years to come. Your perfect listening experience is just a step away.
FAQ
What cables are needed to link a laptop to a surround sound system?
Depending on your setup, you may need an HDMI cable, optical audio cable, or analog cables like 3.5mm or RCA. Ensure compatibility with your devices.
Can I use Bluetooth to pair my desktop with a surround sound system?
Yes, if both your computer and audio system support Bluetooth, you can establish a wireless connection for seamless audio streaming.
How do I configure audio settings on Windows for surround sound?
Open the Sound settings, select your audio device, and configure it for surround sound. Ensure the correct output is selected under the Playback tab.
What is the benefit of using HDMI for audio and video?
HDMI delivers high-quality audio and video simultaneously, making it ideal for home theater setups with surround sound systems.
Why is my optical audio connection not working?
Check if the cable is securely connected, ensure the correct input is selected on your receiver, and verify that your computer’s audio output is set to optical.
Can I use a DAC to improve audio quality?
Yes, a Digital-to-Analog Converter (DAC) can enhance audio quality by converting digital signals to analog, especially for high-end audio systems.
How do I adjust speaker levels for optimal surround sound?
Use your receiver’s settings or software to balance speaker levels, ensuring each speaker contributes equally to the audio experience.
What should I do if my computer doesn’t recognize the surround sound system?
Verify the connection, update your sound card drivers, and ensure the correct audio output is selected in your computer’s settings.
Can I stream audio over a network to my surround sound system?
Yes, network audio streaming devices like Sonos or Chromecast Audio can send audio from your computer to your surround sound system wirelessly.
How do I enable Dolby Digital or DTS on my computer?
Check your audio settings or software for options to enable Dolby Digital or DTS. Ensure your receiver supports these formats for the best results.
Computer security is vital in our digital world. Cyber threats evolve constantly, with many attacks coming from Russia, the US, China, and Germany. Recognising signs of system compromise helps protect your digital assets. Modern computers face sophisticated threats that can breach networks through various means. Hackers use complex techniques to bypass traditional defences. The network…
Computers have come a long way since their early days. The first machines ran single programs without complex operating systems. Today’s computers are quite different, relying on sophisticated software to function. Early computers could do amazing things with minimal software. They managed basic tasks by directly interacting with hardware. This challenges our current view of…
Dell computers are known for their great performance and flexibility. They often come with different operating systems pre-installed. Microsoft Windows is usually the most popular choice on Dell computers. It suits a wide range of user needs. Some Dell models might also offer Linux distributions. This gives customers strong alternatives based on their needs. The…
The system tray, also known as the notification area, is a vital part of your computer’s interface. It provides quick access to frequently used apps and essential functions. Whether you’re using Windows, Linux, or MacOS, this feature simplifies your workflow. In Windows, the system tray is typically located at the bottom-right corner of the screen,…
A computer system is a complex blend of tech parts working together to process information. It combines intricate hardware with clever software to create a powerful computing environment. Modern computing includes various system types, from personal computers to advanced mainframes. Desktops and laptops are the most common computer systems for individual use. A computer system’s…
Knowing your computer’s operating system is crucial for tech care and fixing problems. Being able to recognise versions like Windows 10 and macOS improves your use of apps and security updates. This knowledge keeps your system running well and ensures everything works together smoothly. This article shows you how to find out your operating system….